Step #1
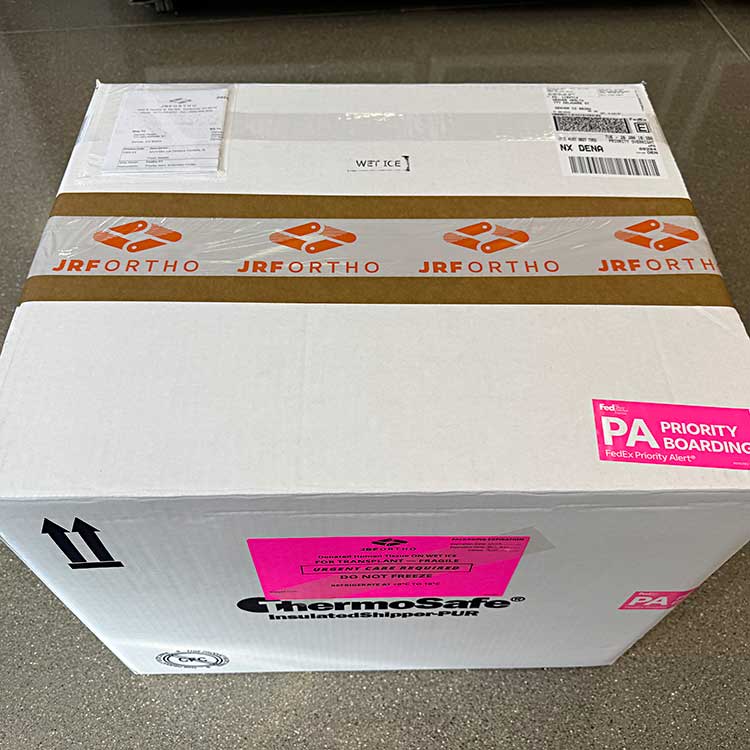
Exterior Cooler
Allografts ship in different cooler sizes; check the sticker for validation times.
Search requires functional cookies. Manage cookie preferences to enable.
Below are detailed step-by-step instructions for the proper handling and preparation of your osteochondral allograft.
Click through the images below for detailed instructions on allograft storage.
Allografts ship in different cooler sizes; check the sticker for validation times.
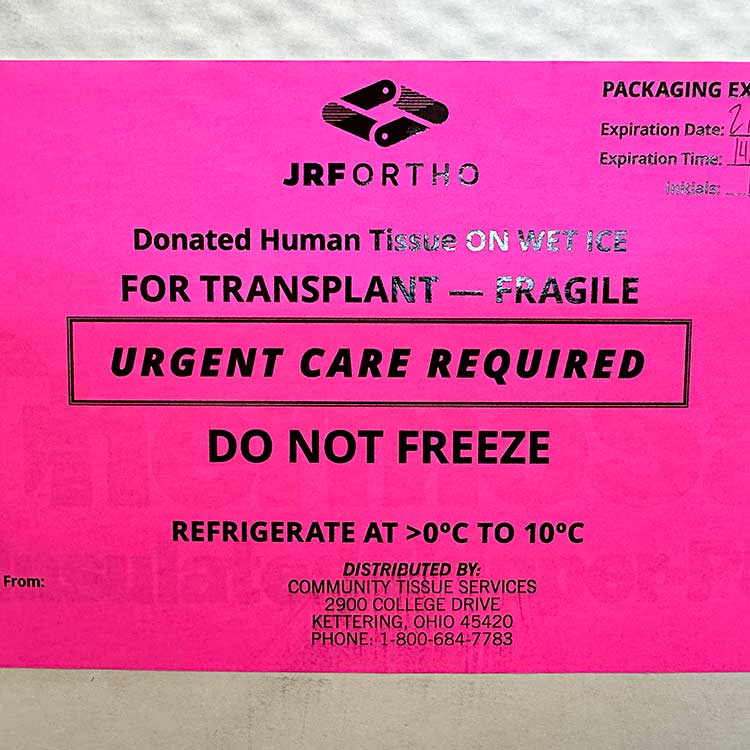
Note cooler validation times as well as temperature parameters.
DO NOT FREEZE.
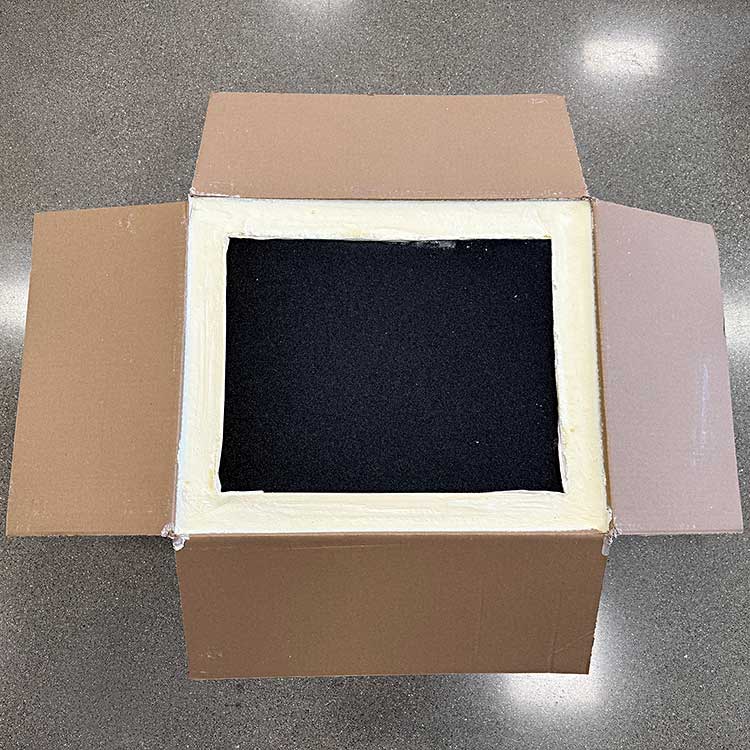
Styrofoam lid covering contents of cooler: wet ice + packaged osteochondral allograft.
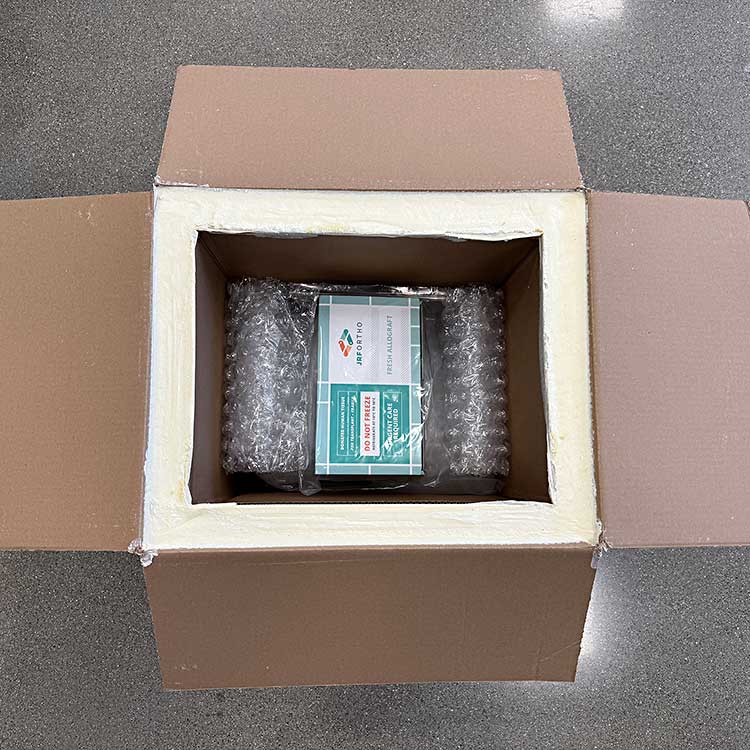
Confirm contents of cooler.
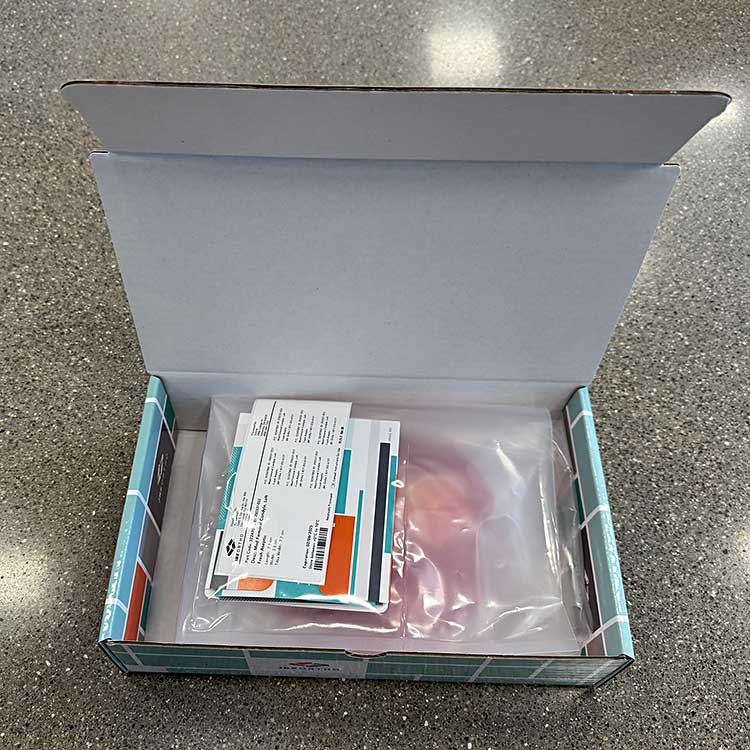
Osteochondral allograft inside three peel pouches within a JRF Ortho carboard box. Confirm allograft/donor information.
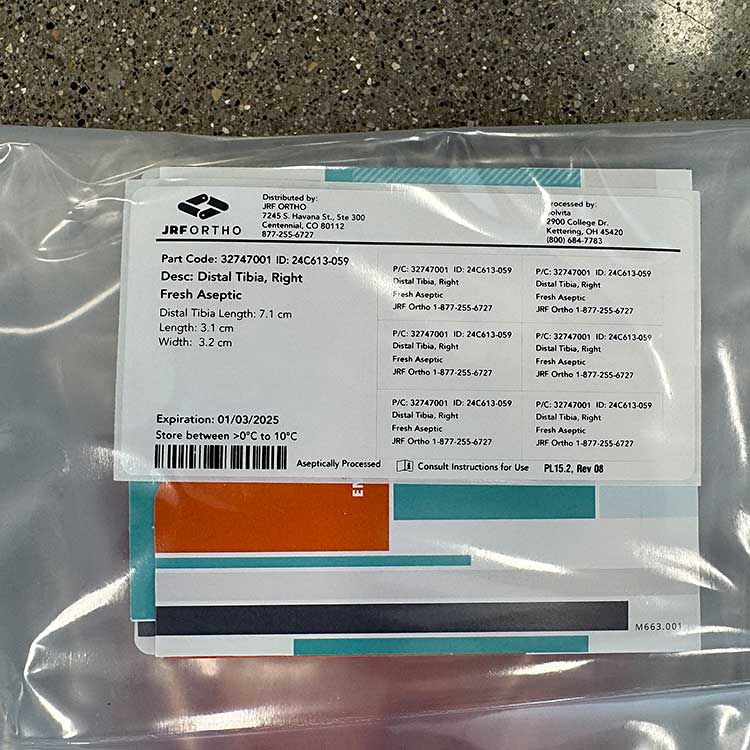
Confirm allograft/donor information on allograft labeling.

Among the inserts is a “Thank You” card to be shared with the allograft recipient with instructions on how to thank the donor family for the gift they have provided.

The allograft can either be kept inside the cooler it arrived in until it’s notated expiration found on the outside of the box, or placed in the facility’s refrigerator, following facility protocol.
For more information, click here to download the package insert.
1.
All preparation should be performed using aseptic technique.
2.
Tissue in Peel Pouch Packaging: Allograft will arrive in 3 pouches. The inner 2 pouches are sterile.
3.
Using aseptic technique, peel outer pouch, and introduce first inner pouch onto sterile field.
4.
Osteochondral allografts are stored in a nutrient medium. Place allograft and nutrient media into sterile basin. You may keep allograft moist with a cold or room temperature sterile isotonic solution until time of transplant. DO NOT USE WARM SOLUTION.
5.
Immediately prior to use, rinse allograft completely to remove storage media, and any residual blood and marrow elements using high-pressure lavage with an isotonic solution.
6.
Manipulate / shape the allograft on the sterile field
Follow us on social media for the latest news, industry trends, and inspiring stories, or subscribe to our newsletter for exclusive insights delivered straight to your inbox.